Click this first post below for more details...

What's a Joker, and you're going to do what?!

The MX5 Cobra is out of the shed, so room for my next project 👍 MX5 Cobra project (see NZ Japanese Cobra blog) is all done bar the painting (soon hopefully). So, it makes way for my next project... Electric Conversion of a Classic Scooter So, I was toying with the idea of getting an electric bicycle to ride to work (on nice weather days 😃), but... wow, aren't they expensive for what you get! I then looked at electric scooters (moped scooters). For not much more than the cost of an electric bicyle you can get an electric scooter, but not a very nice looking one (like a Vespa or similar classic scooter). Then I remembered that before I decided to do the MX5 Cobra I liked the idea of doing an electric car conversion - so, light bulb moment - let's do an electric scooter conversion! A bit of research later to see how feasible it would be, estimating likely costs, etc, and the project was a go. But, what scooter should I convert? Obviously, the name "Vespa...

Where to put the batteries?


Honda Joker Replica frame with electric rear wheel attached
The frame with rear wheel attached is back from the engineering shop

The drop to COVID-19 Alert Level 3 allowed me to go and collect my "essential item" from the engineer. Clayton from Paice Engineering did a great job!


Rear shock absorbers attached to moped frame
New rear shock absorber top mounts


New rear swing-arm attached to scooter frame
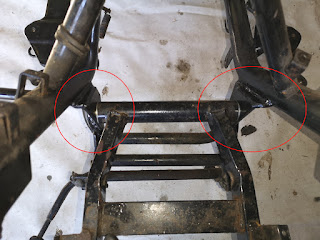
New, nice and sturdy, swingarm mounts


So, next step is to strip the frame - removing the wheels, stands, swing arm, shock absorbers and handle bars (including controls and instruments) - so the frame can be derusted, sanded and re-painted.

However, before doing that, I'd better work out where I'm putting the batteries and electric controller bits. Need to get that sorted before painting the frame and bits, in case there's more welding or such like required.

Yahoo! After quite a bit of measuring and checking, I was pretty sure two of the 60V lithium battery packs would fit under the foot well where the fuel tank used to be. So, time to fabricate a battery box (and a couple of immitation cardboard 'batteries') and confirm. Yep, perfect!

New battery box fitted where fuel tank used to be

Battery box in Honda Joker Replica frameBattery box in Honda Joker Replica moped
Yes, that is going to work out very well indeed! Nice low center of gravity for the weighty bits, so should handle really well too.

Next is to determine where to put the motor controller and other electric bits. Plenty of room to mount them to the frame under the seat area, but decided to put them in the seat box. That way there should be less hassles with water issues when riding the bike in the rain.

So, the electrics locations are all sorted. Right, time to get that frame cleaned up and painted...

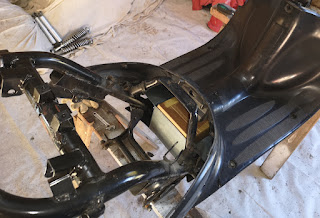
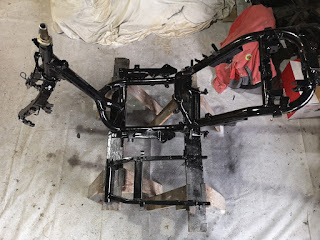
Painted Honda Joker Replica frame and new swing-arm
Frame and swing arm all rust stripped, primed and painted.

That's it. All the prep work is done, so time to put this little beastie all back together again. Catch you next blog post with progress.


Comments